Configure Link Preview settings in the integration dashboard
Set up the authorization flow
Use the Unfurl Callback URL
Manage updates to Link Previews
Submit your integration for security review
Requirements
- You’ve requested and received access to the Link Previews API.
- You own the domain that you’re using to create Link Previews. You’ll need to share a verification code from Notion with your domain host when you initialize the integration.
- Your application supports OAuth 2.0.
- You’ve read the Link Previews overview, so you have a good idea of what you’re building and how it works.
- You’ve read the Authorization guide and have familiarized yourself with Notion integrations.
Create a public Notion integration
Link Preview integrations are a type of public integration. To create a Link Preview integration, you must first create a public integration. Once the public integration is created, you can enable the link preview setting through the integration’s settings. To learn how to create a public integration, follow the Authorization guide.Configure Link Preview settings in the integration dashboard
This step will guide you through enabling link previews for your integration, as well as filling out the link preview integration forms found in your integration settings. To start, navigate to the public integration you will be using for your link preview integration. It can be found in the integration dashboard. If you have access to the Link Preview API, you will see a Link Preview section in the Configuration tab.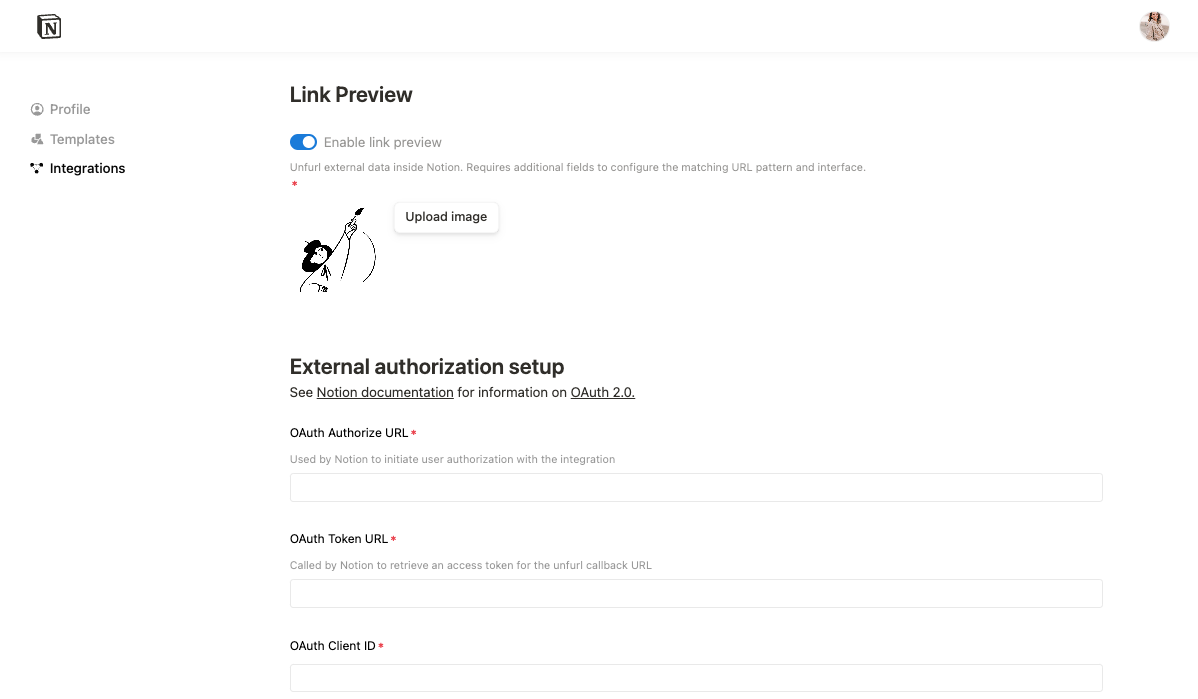
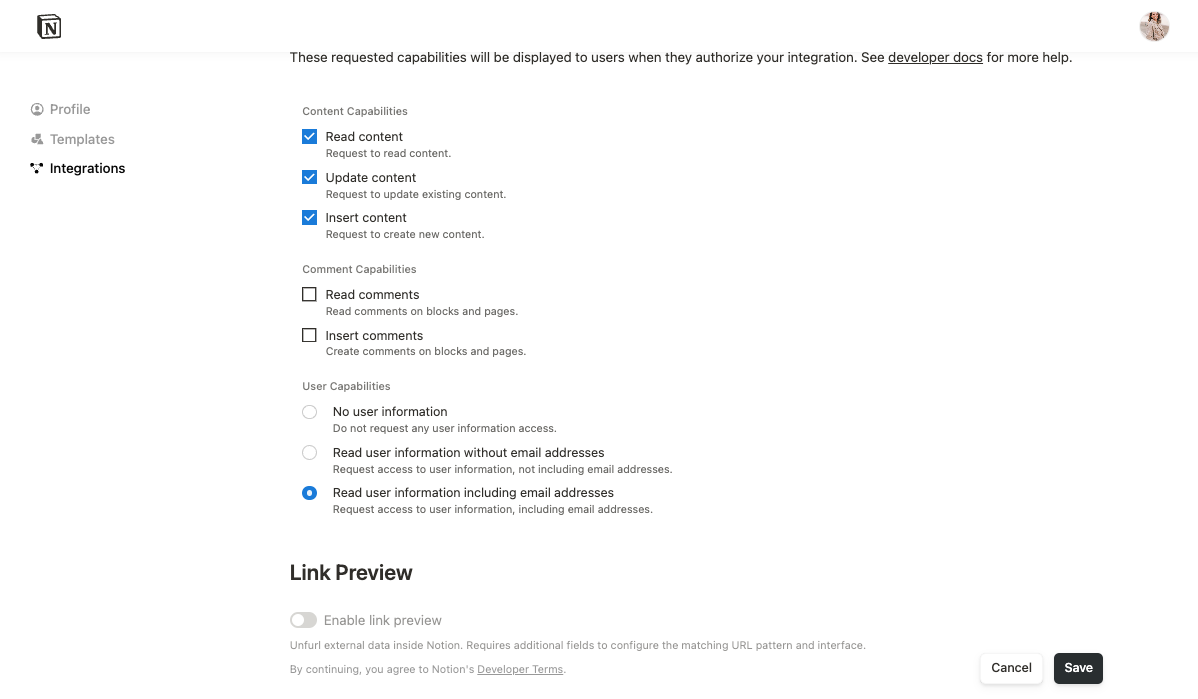
- The External Authorization Setup form.
- The Unfurling Domain & Patterns form.
If you don’t see
Enable link preview as an option, then:- Make sure that you’ve applied and received access to the Link Previews API.
- Confirm that you’re logged in to the Notion account that you used to request access.
- Reach out to [email protected] if you continue to have issues.
1. Fill out the External Authorization Setup form
The External Authorization Setup settings give Notion the information that it needs to let a user authenticate with your service when they paste a Link Preview enabled URL in Notion.| Field | Description | Example value |
|---|---|---|
| OAuth Authorize URL | The URL that Notion redirects the user to when they connect your integration to their account. When Notion redirects to this URL, it passes a code as a query param in the request. Your integration trades the code for an access_token to make authenticated requests to the Link Previews APIs. | https://<your_domain>.com/notion/authorize |
| OAuth Token URL | The URL that responds to a Notion POST request with an access_token from your service. Notion uses the access_token to make authenticated requests to your systems. | https://<your_domain>.com/notion/token |
| OAuth Client ID | The client ID that Notion uses in its requests to your Authorize and OAuth Token URLs. | mRkZGFjM |
| OAuth Client Secret | The client secret that Notion uses in its requests to the Authorize and Token URLs. | ZGVmMjMz |
| OAuth Scopes (optional) | An optional scopes string for Notion to send as a parameter in the request to your OAuth Authorize URL. | unfurl, user_name |
| Deleted Token Callback URL (optional) | A URL that Notion sends a DELETE request to when a user removes a Link Preview from a Notion page or disconnects your integration from their workspace, so that you can delete their tokens. You can use the request body that Notion sends to look up the user and deactivate their associated access_tokens from your service. Whether or not you use a deleted token callback, Notion invalidates any Notion-side tokens corresponding to the user and the Link Preview that they delete. | https://<your_domain>.com/notion/deletion |
"Submit ->" to continue to Unfurling Domain & Patterns.
2. Fill out the Unfurling Domain & Patterns form
The Unfurling Domain & Patterns settings give Notion the information that it needs to recognize the URLs that you want to unfurl Link Previews.| Field | Description | Example value |
|---|---|---|
| Unfurl Callback URL | The URL that shares data to be displayed in the Link Preview with Notion. Notion sends POST and DELETE requests to this URL when a user adds or deletes a Link Preview. You can leave this blank as you set up OAuth and return to it once you’ve created your unfurl attributes. Refer to Step 3 for details. Must be an internet-accessible URL that can and should be protected by authentication. | https://<your_domain>.com/unfurl |
| Unfurl URL Domain | The root domain that maps to this integration. After you add a domain, follow the prompts to verify your domain with Notion. | <your_domain>.com |
| URL matching and placeholder | The pattern that a URL must match in order to unfurl as a Link Preview. You can provide multiple patterns for one integration. | Refer to the table below. |
"item" |
| Sample URLs | An example URL that matches the pattern and triggers a Link Preview. | https://acme.com/items/23487 |
| Pattern | A Regex pattern that Notion can use to identify URLs that trigger Link Previews. If the Regex pattern fails to match any sample URL, then an error prompt appears when you save settings. |
^(?<site>https\:\/\/acme\.com)\/items\/(?<itemNo>\d+)$ |
| Unfurl Regex Attributes | An array of JSON objects. Each JSON object contains placeholders, populated from Regex capture groups, for a Link Preview’s unfurl attributes. Placeholders are displayed when a Link Preview is waiting for data to populate from your service.You can leave this blank as you set up OAuth and return to it once you’ve created your unfurl attributes. |
[ { "id": "title", "name": "Title", "type": "inline", "inline": { "title": { "value": "Acme Item #$<itemNo>", "section": "title" } } }, { "id": "itemId", "name": "Item Id", "type": "inline", "inline": { "plain_text": { "value": "#$<itemNo>", "section": "identifier" } } }, { "id": "dev", "name": "Developer Name", "type": "inline", "inline": { "plain_text": { "value": "Acme Inc", "section": "secondary" } } } ] |
After you’ve filled out the External Authorization Setup and Unfurling Domain & Patterns settings, click "Submit ->" to create the integration.
Set up the authorization flow
There are two high-level parts to the auth flow for a Link Preview:- Your service authenticates with Notion. Notion sends a
codeto your OAuth Authorize URL. Your integration exchanges thiscodefor a Notionaccess_tokenthat enables your service to make authenticated requests to the Link Previews APIs. - Notion authenticates with your service. Your service responds to Notion’s request with a
code. Notion exchanges this token for your service’saccess_tokenvia your OAuth Token URL. This allows Notion to embed the data from your service in Link Previews.
access_token is long-living and doesn’t need to be updated. If you prefer, Notion can also support refresh tokens and fetch new tokens from your service.
The auth flow begins when a user shares your Link Preview enabled URL in Notion. Notion recognizes the link and redirects to the OAuth Authorize URL that you provided in the integration settings.
Notion includes the following query params to kick off the OAuth flow with your service:
| Parameter | Description | Value |
|---|---|---|
code | A UUID that Notion generates to authenticate with your service. | 614846ff-b061-4eac-a511-fc20c3f0838a (example value) |
redirect_uri | A constant string. Your service redirects a user to this URL after they grant permission for it to access Notion. To prevent attackers from providing arbitrary URIs, your service should validate that the redirect URI matches this value. | https://notion.so/externalIntegrationAuthCallback |
client_id | The OAuth Client ID that you provided when you created the integration. | mRkZGFjM (example value) |
scope (optional) | The OAuth Scopes value that you provided when you created the integration. | unfurl, user_name (example values) |
response_type | A constant string. | code |
state | A randomized string for security validation. | tga@YNV9cfw4yrv0thw (example value) |
1. Provide OAuth form
Listen for requests to your OAuth Authorize URL. When you detect a request from Notion, present a UI that asks the user to allow the authentication process to continue. For example, Slack shares the following interstitial when a user initiates a Link Preview from a Slack URL: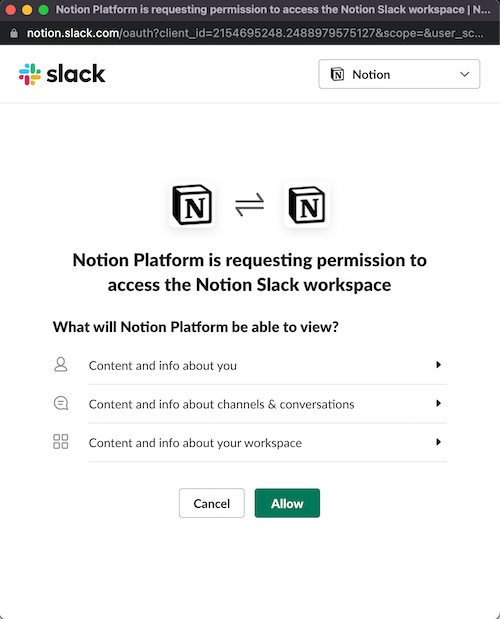
2. Authenticate with Notion’s access_token
In your integration implementation, retrieve the code that Notion sent when it called your OAuth Authorize URL. Then, send the code as part of a POST request to Notion’s token URL: https://api.notion.com/v1/oauth/token.
The Notion
code is valid for 10 minutes. If the code expires, then an error is returned and you need to reinitiate the auth flow for Notion to authenticate with your service (Step 2a).To explore other possible errors, refer to the OAuth 2.0 documentation. Default to re-initiating the auth flow to handle errors.CLIENT_ID and CLIENT_SECRET: CLIENT_ID:CLIENT_SECRET. You can find these values on the integration settings page. Find your integration, and click View integration.
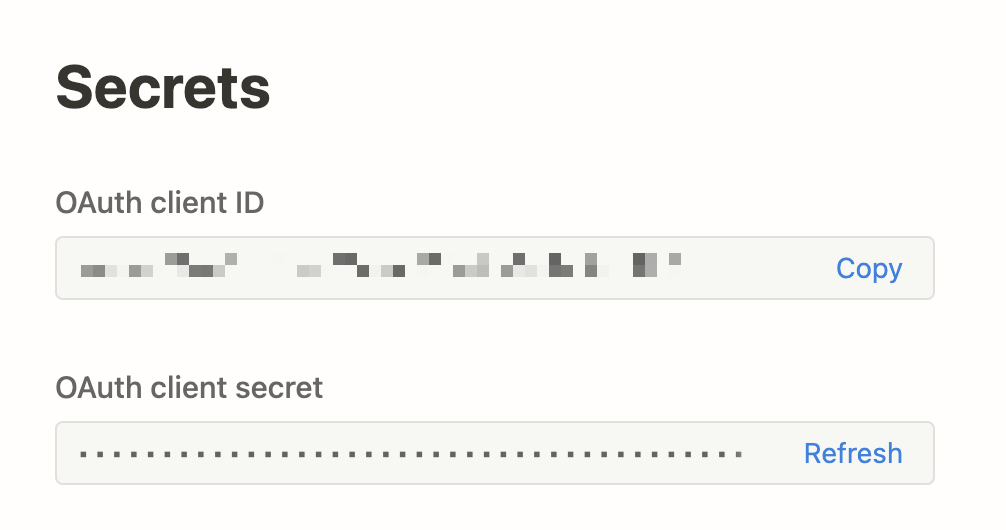
Note that in HTTP Basic Authentication, credentials are
base64 encoded before being added to the Authorization header. Notion also requires the word Basic before the base64 encoded string. A complete code param looks something like the following:Basic NjQ5Mzc0OTIzNzQ5MjM4NDc5MjM4NDc5MjM0NzkyMzc0OjQ3Mzg5Mjc0OTIzODQ3Mjk0ODcyMzkzNDgyNzk0ODcyMzQ5For more information, read about HTTP Basic Authentication in our Authorization guide.| Parameter | Description | Value |
|---|---|---|
code | A unique random code that Notion generates to authenticate with your service, generated when a user initiates the auth flow. | "ABC" (example value) |
grant_type | A constant string. | authorization_code |
external_account | Object with key and name properties. key should be a unique identifier for the account. Notion uses the key to determine whether or not the user is re-connecting the same account. name should be some way for the user to know which account they used to authenticate with your service. | Refer to the example below. |
external_account object for [email protected], a Notion employee account, to authenticate with Slack to use a Slack Link Preview.
name appears in the "My connections" settings page, where a user can review their authentications for your integration.

| Parameter | Description | Value |
|---|---|---|
access_token | A unique random string that Notion generates, in exchange for the code. You can use the access_token to make authorized requests to the Notion API. | "ABC" (example value) |
bot_id | A UUID representing this authorization. | "3d592781-2dcc-4d4b-bcf3-776a2a7ad7b8" (example value) |
duplicated_template_id | Always null for Link Preview integrations. Create a standard public integration to use template URLs with the API. | null |
owner | An object indicating who owns the authorized workspace. | Refer to the bot object documentation. |
token_type | A constant string. | "bearer" |
workspace_id | A UUID representing the ID of the Notion workspace where the authorization flow took place. | "3d592781-2dcc-4d4b-bcf3-776a2a7ad7b8" (example value) |
workspace_icon | A URL to an image, or a string of characters, that identifies the workspace. This could be useful if you’d like to display this authorization in your service’s UI. | "🍩" |
workspace_name | A string representing a human-readable name that can be used to display this authorization in your service’s UI. | "My Team Workspace" (example value) |
For tips on storing
access_tokens, check out the auth guide.3. Redirect to the redirect_uri with code
When a user selects "Allow" to grant Notion the requested permissions, redirect to the redirect_uri , the constant string notion.so/externalIntegrationAuthCallback, with your service’s unique code and the state that Notion sent to your service when it initiated the auth flow.
When Notion receives the redirect, it sends a POST request to the OAuth Token URL that you provided with the following body:
| Parameter | Description | Value |
|---|---|---|
code | A unique random string that your service generates, retrieved from your service’s request to the redirect_uri. Notion is sending back the code that you sent. | WQtaEYNV9jfL4yr89KJA0thw |
client_id | The OAuth Client ID that you provided when you created the integration. | mRkZGFjM (example value) |
client_secret | The OAuth Client Secret that you provided when you created the integration. | ZGVmMjMz (example value) |
redirect_uri | A constant string. | notion.so/externalIntegrationAuthCallback |
grant_type | A constant string. | authorization_code |
application/x-www-form-urlencoded format and expects a JSON response.
4. Share the access_token with Notion
From your OAuth Token URL, respond to Notion’s POST request with an access_token body parameter in your 200 response.
Notion saves the access_token to send in future requests. Notion sends a request to your Unfurl Callback URL every time that the user associated with the token pastes a new Link Preview enabled URL or revisits a page with an existing Link Preview to refresh data.
How Notion handles OAuth errors
Notion handles error responses as described by the OAuth Error Spec. The message that Notion displays to the user varies depending on the information that you provide.
For example, you can respond with an error and a standard error code like access_denied:
https://notion.so/externalintegrationauthcallback?error=access_denied
In this instance, Notion shares the following message:
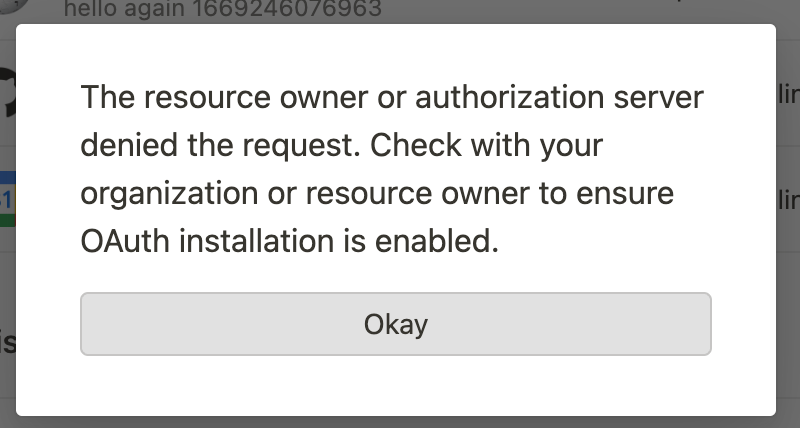
error_description to the response:
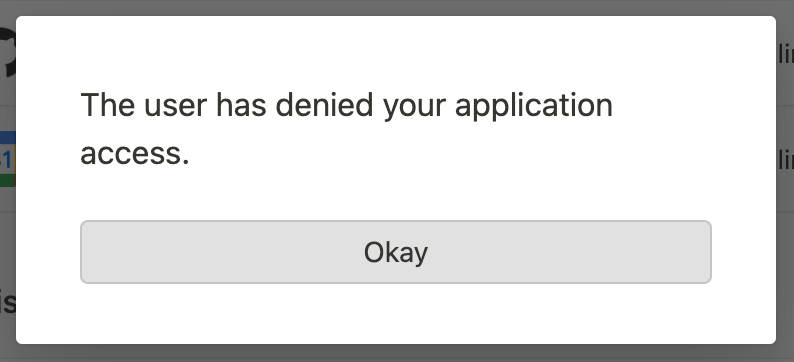
https://notion.so/externalintegrationauthcallback?error=access_denied&error_description=The+user+has+denied+your+application+access
If Notion detects a description, then it replaces the standard dialogue prompt with the specified description, as in the below:
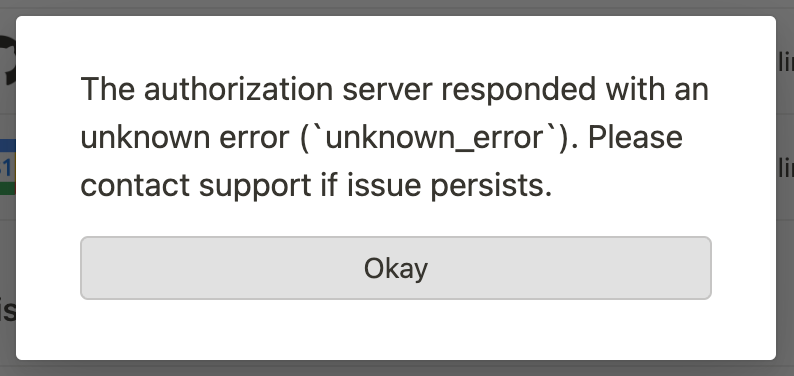
For more details on standard error codes, refer to the OAuth spec.
How to use refresh tokens (optional)
Skip to Step 2e if you’re creating long-living access tokens. This section only applies to temporary access tokens.
Return a refresh_token
Instead of creating a long-living access_token, you can send a refresh_token alongside a temporary access token. Notion can then use the refresh_token to fetch new tokens from your service.
If you return a refresh_token, then you need to also return an expires_in integer, as in the following example:
expires_in represents the number of seconds until the access_token expires.
Notion requests to refresh a token
If Notion detects that theaccess_token is expired, meaning that the current time exceeds the time of the last refresh plus the expires_in value, then Notion refreshes the tokens when it calls your endpoints.
To refresh the token, Notion sends a POST request to your OAuth Token URL with the following parameters:
| Parameter | Description | Value |
|---|---|---|
refresh_token | The unique random string returned in the response to the previous request. | "ABC" (example value) |
client_id | The OAuth Client ID that you provided when you created the integration. | mRkZGFjM (example value) |
client_secret | The OAuth Client Secret that you provided when you created the integration. | ZGVmMjMz (example value) |
redirect_uri | A constant string. | https://notion.so/externalIntegrationAuthCallback |
grant_type | A constant string. | refresh_token |
Respond to Notion’s request to refresh a token
From your OAuth Token URL, return anaccess_token in your 200 response. You can optionally return new refresh_token and expires_in values.
5. Test the auth flow in Notion
To test the auth flow, make sure that you’ve added the integration to a workspace. Then, navigate to"My connections" in the workspace settings. Click "Show all". Find the integration that you created in the list, and select "Connect" to kick off the auth flow.
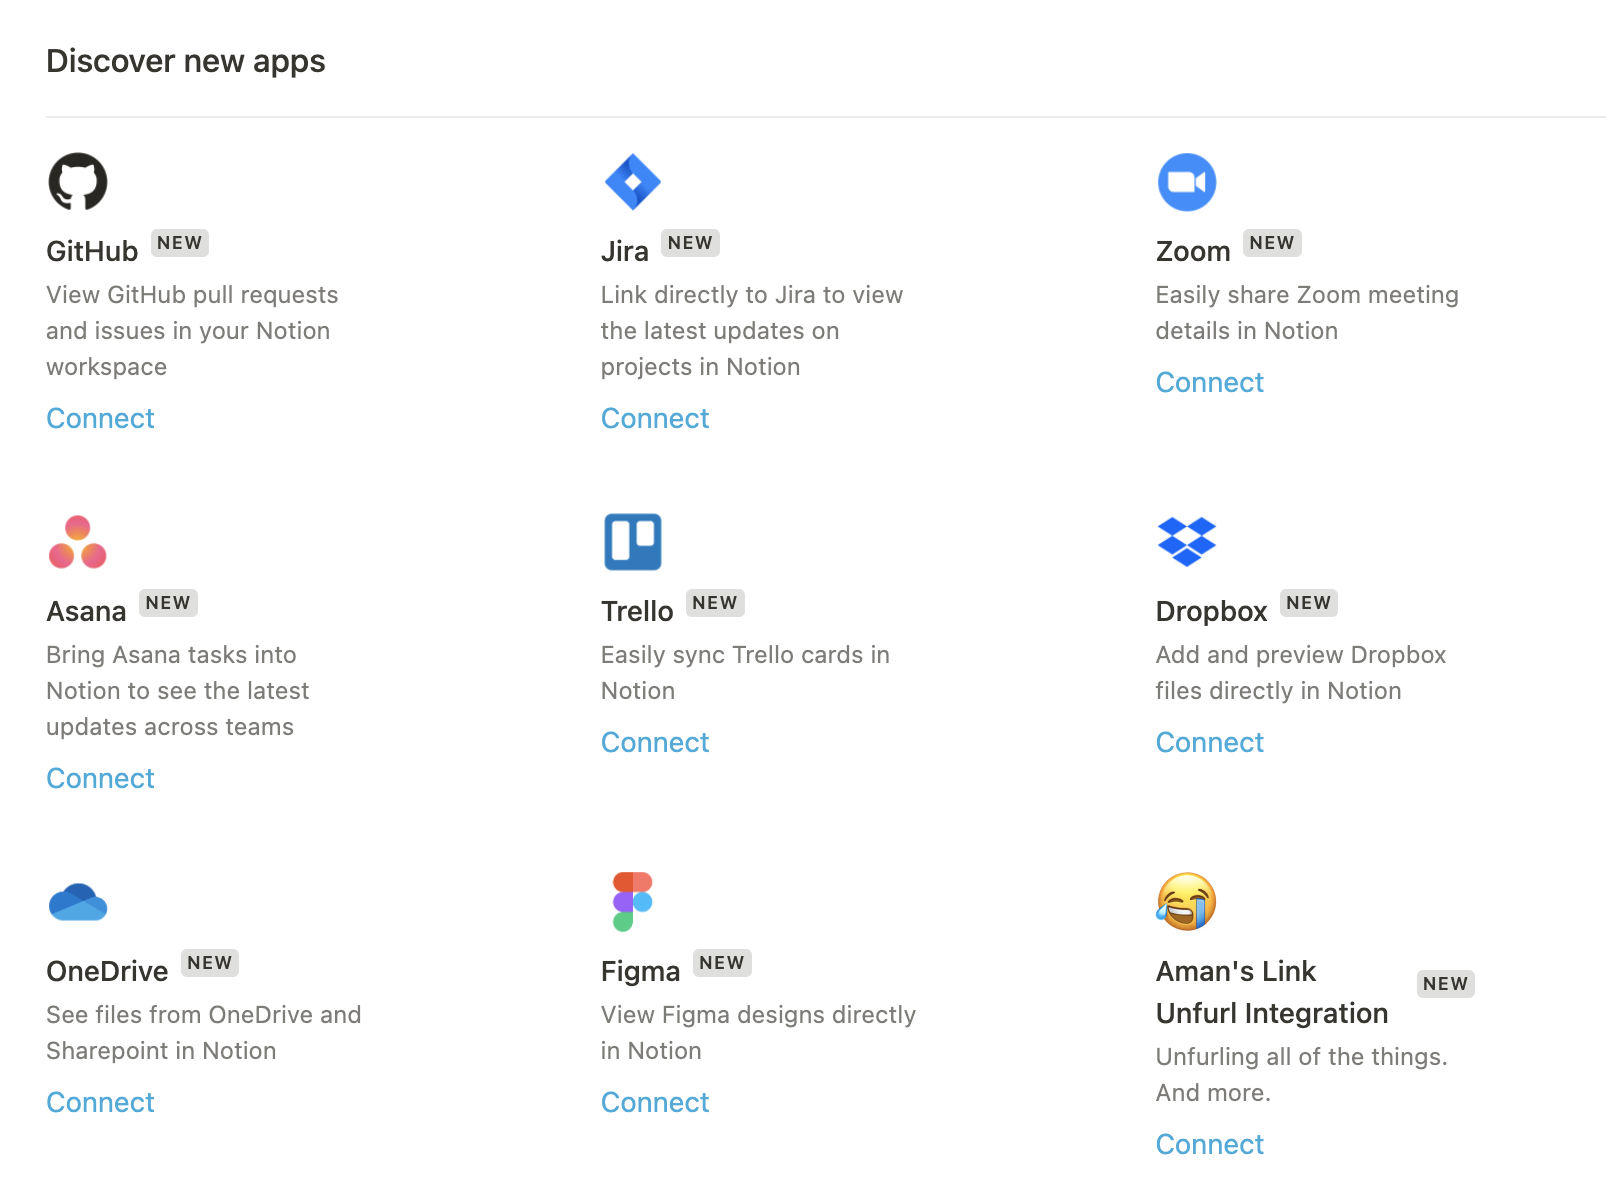
If you don’t see your integration in the list, then refresh the page. Notion only loads new integrations on page load.
"My connections" menu.

key for this connection is unique, repeat the auth flow multiple times using the same credentials to validate that you only get a single entry.
Use the Unfurl Callback URL
1. Configure unfurl attributes
After a user pastes a Link Preview enabled link and completes the auth flow, Notion sends a POST request to the Unfurl Callback URL that you provided in the integration settings.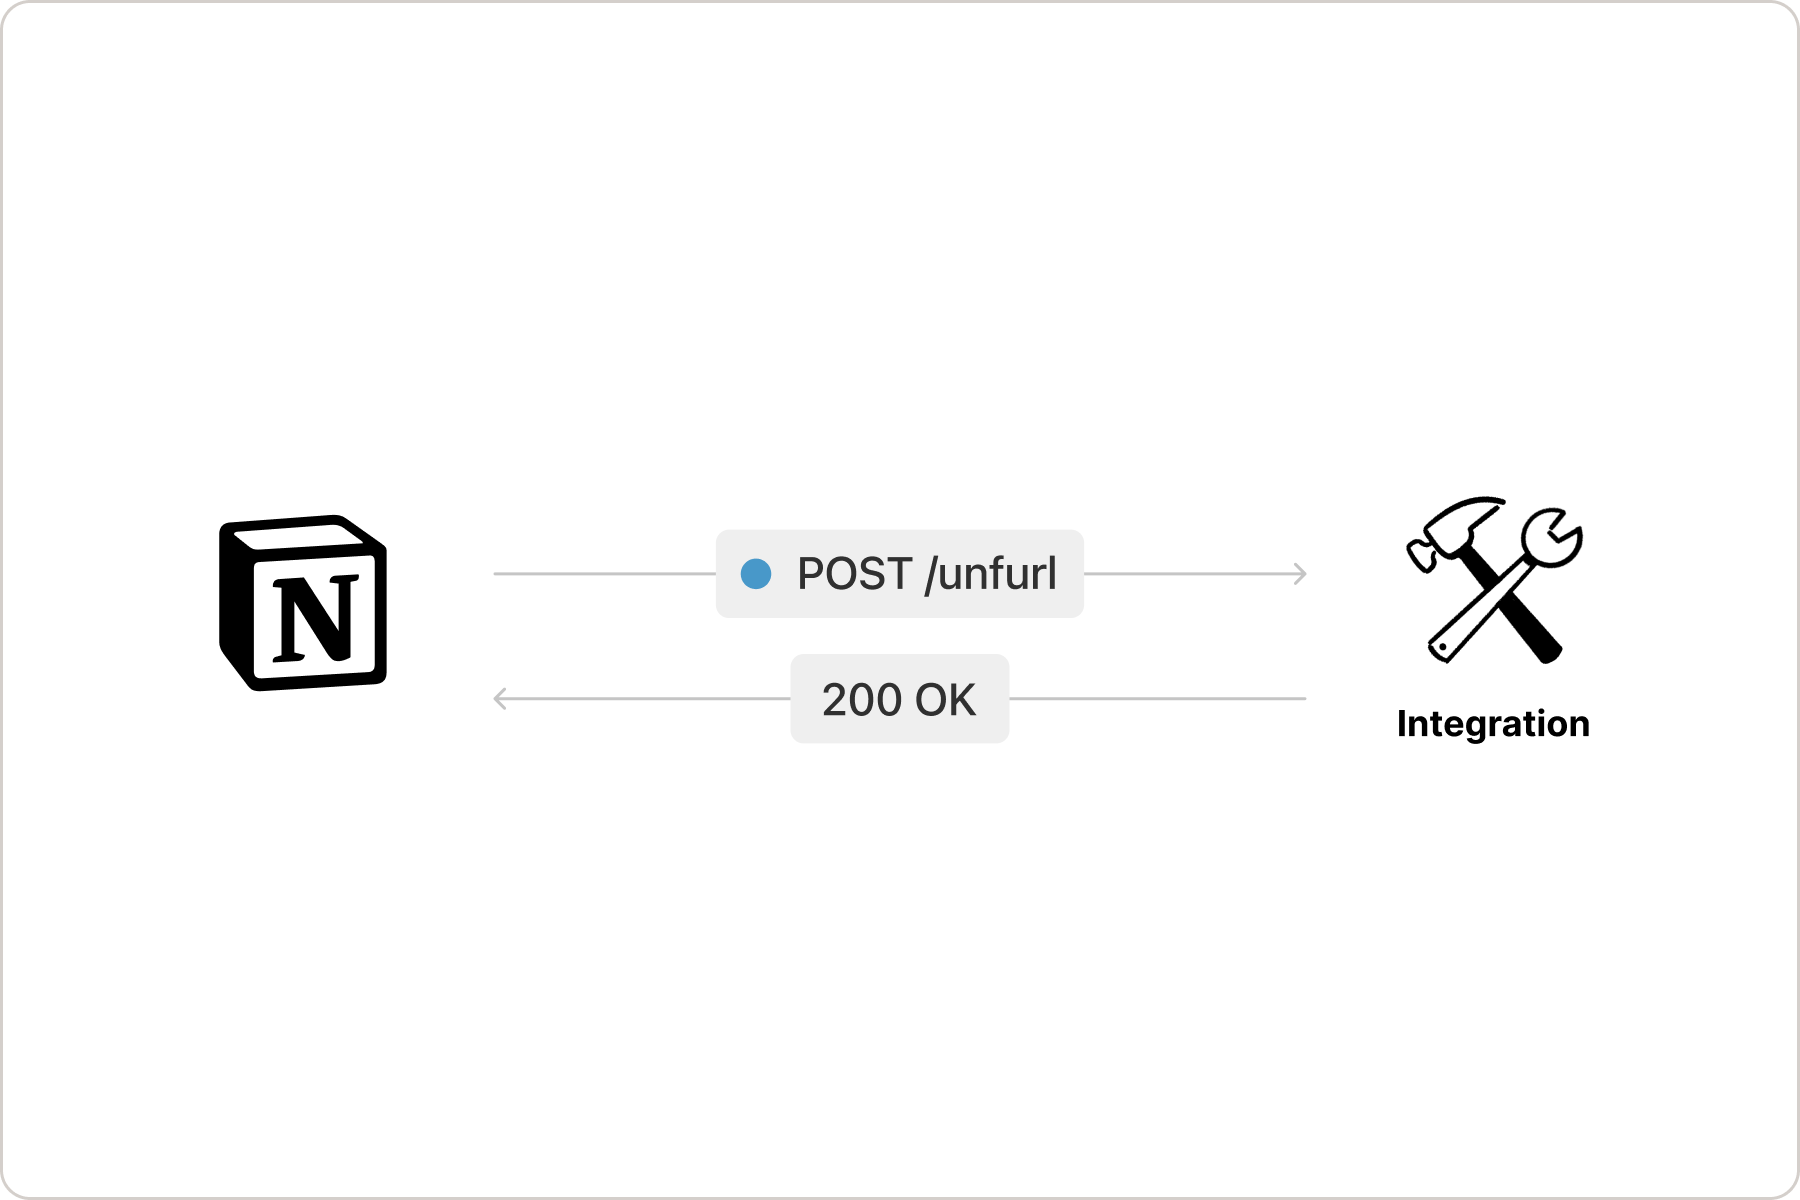
access_token from your service, and the payload is a single field called uri that includes the link that the user shared:
uri, and an array of all of the unfurl attributes, the values to display in the Link Preview. The array must include a title attribute that gives the Link Preview a title and a dev attribute that indicates the developer or company that created the Link Preview.
The following is an example response:
To learn more about unfurl attributes, refer to the Link Preview unfurl attributes reference.
2. Handle unfurl request errors
Set up the Unfurl Callback URL to handle errors, as in the following example.Manage updates to Link Previews
Update Link Previews to reflect data shared in unfurl attributes
If the unfurl attributes from your service change over time, then you can alert Notion to update the Link Preview to mirror those changes. When your service detects changes to data that is referenced by a Link Preview, send a PATCH request to Notion’s/v1/external/object endpoint to update the unfurl attributes.
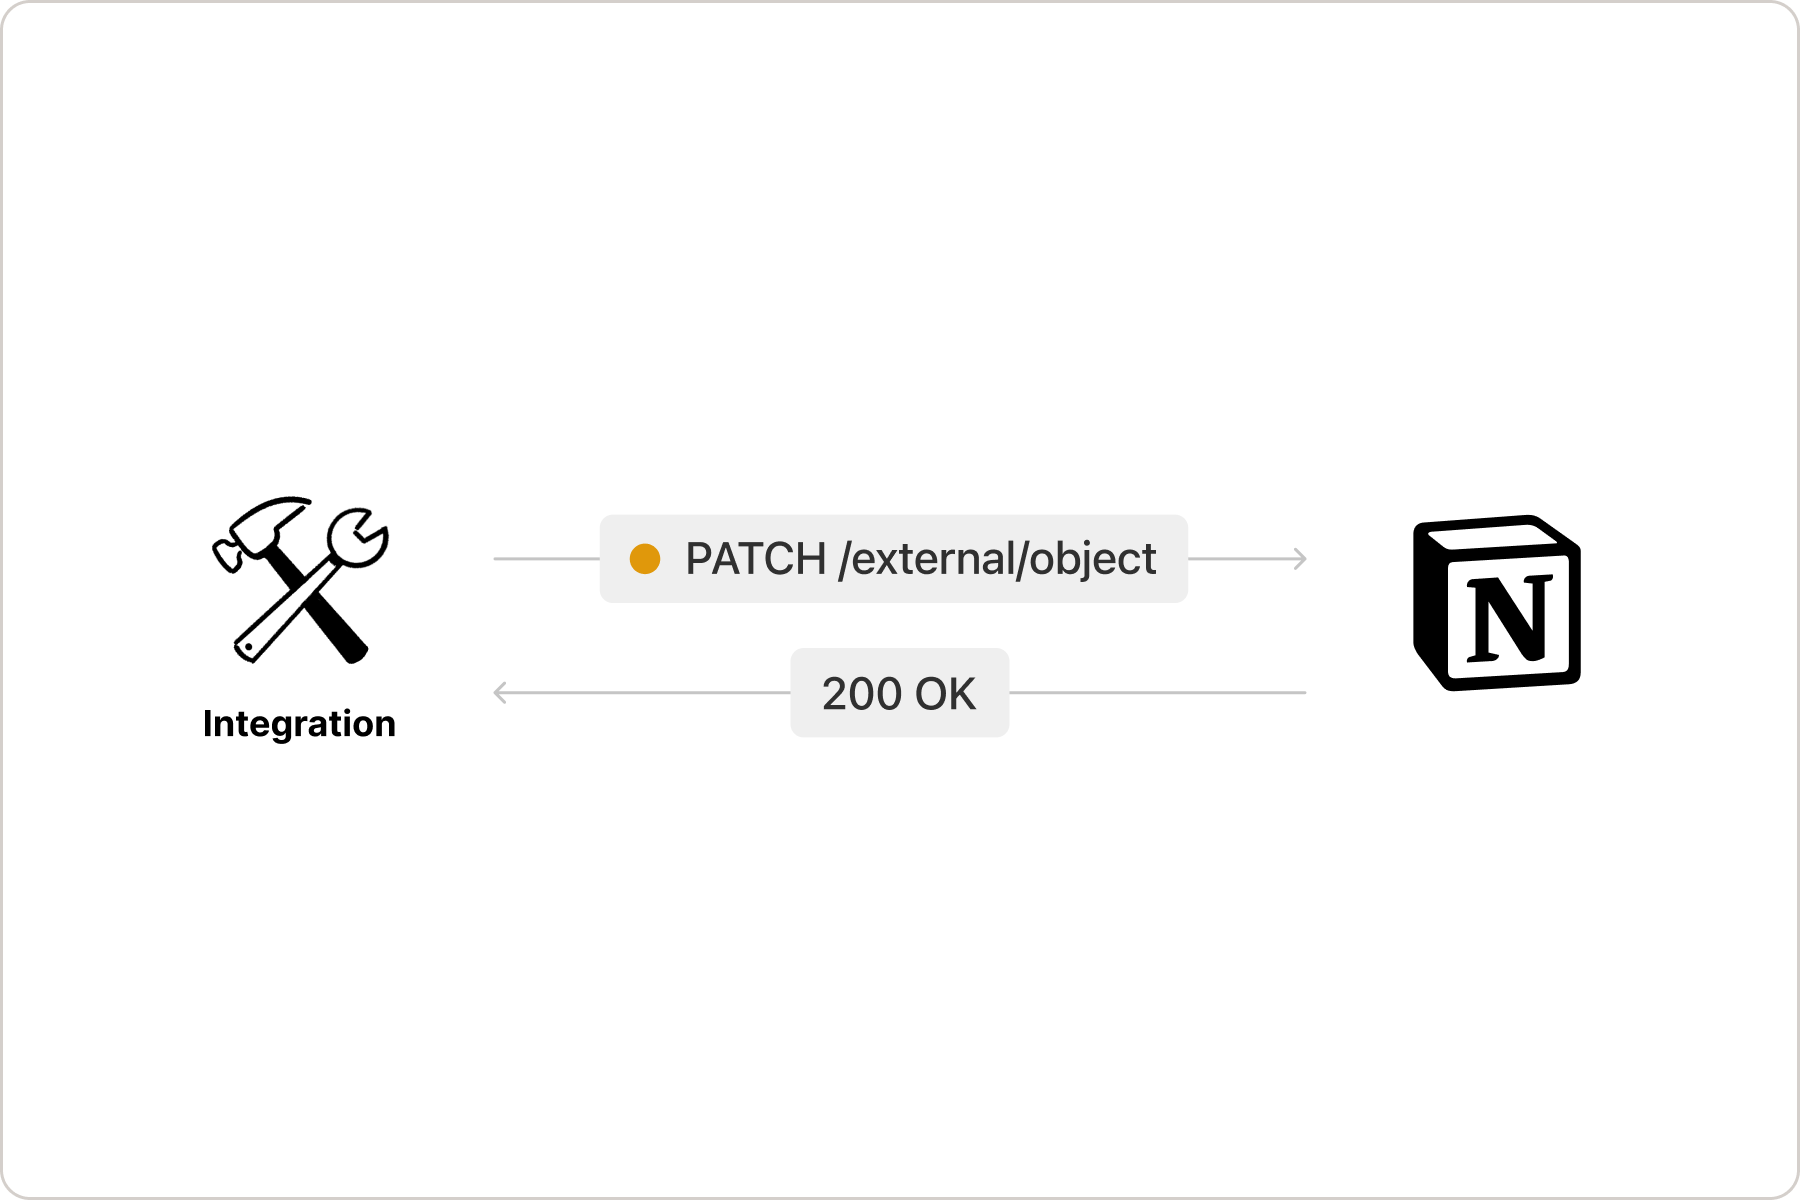
When updating a Link Preview’s unfurl attributes, there’s no need to clear the
error. If no error is sent, then the error is automatically cleared.Notion updates your service when a user deletes Link Preview enabled URLs
When a user deletes all Link Previews associated with a URL from their workspace, Notion sends a DELETE request to your Unfurl Callback URL.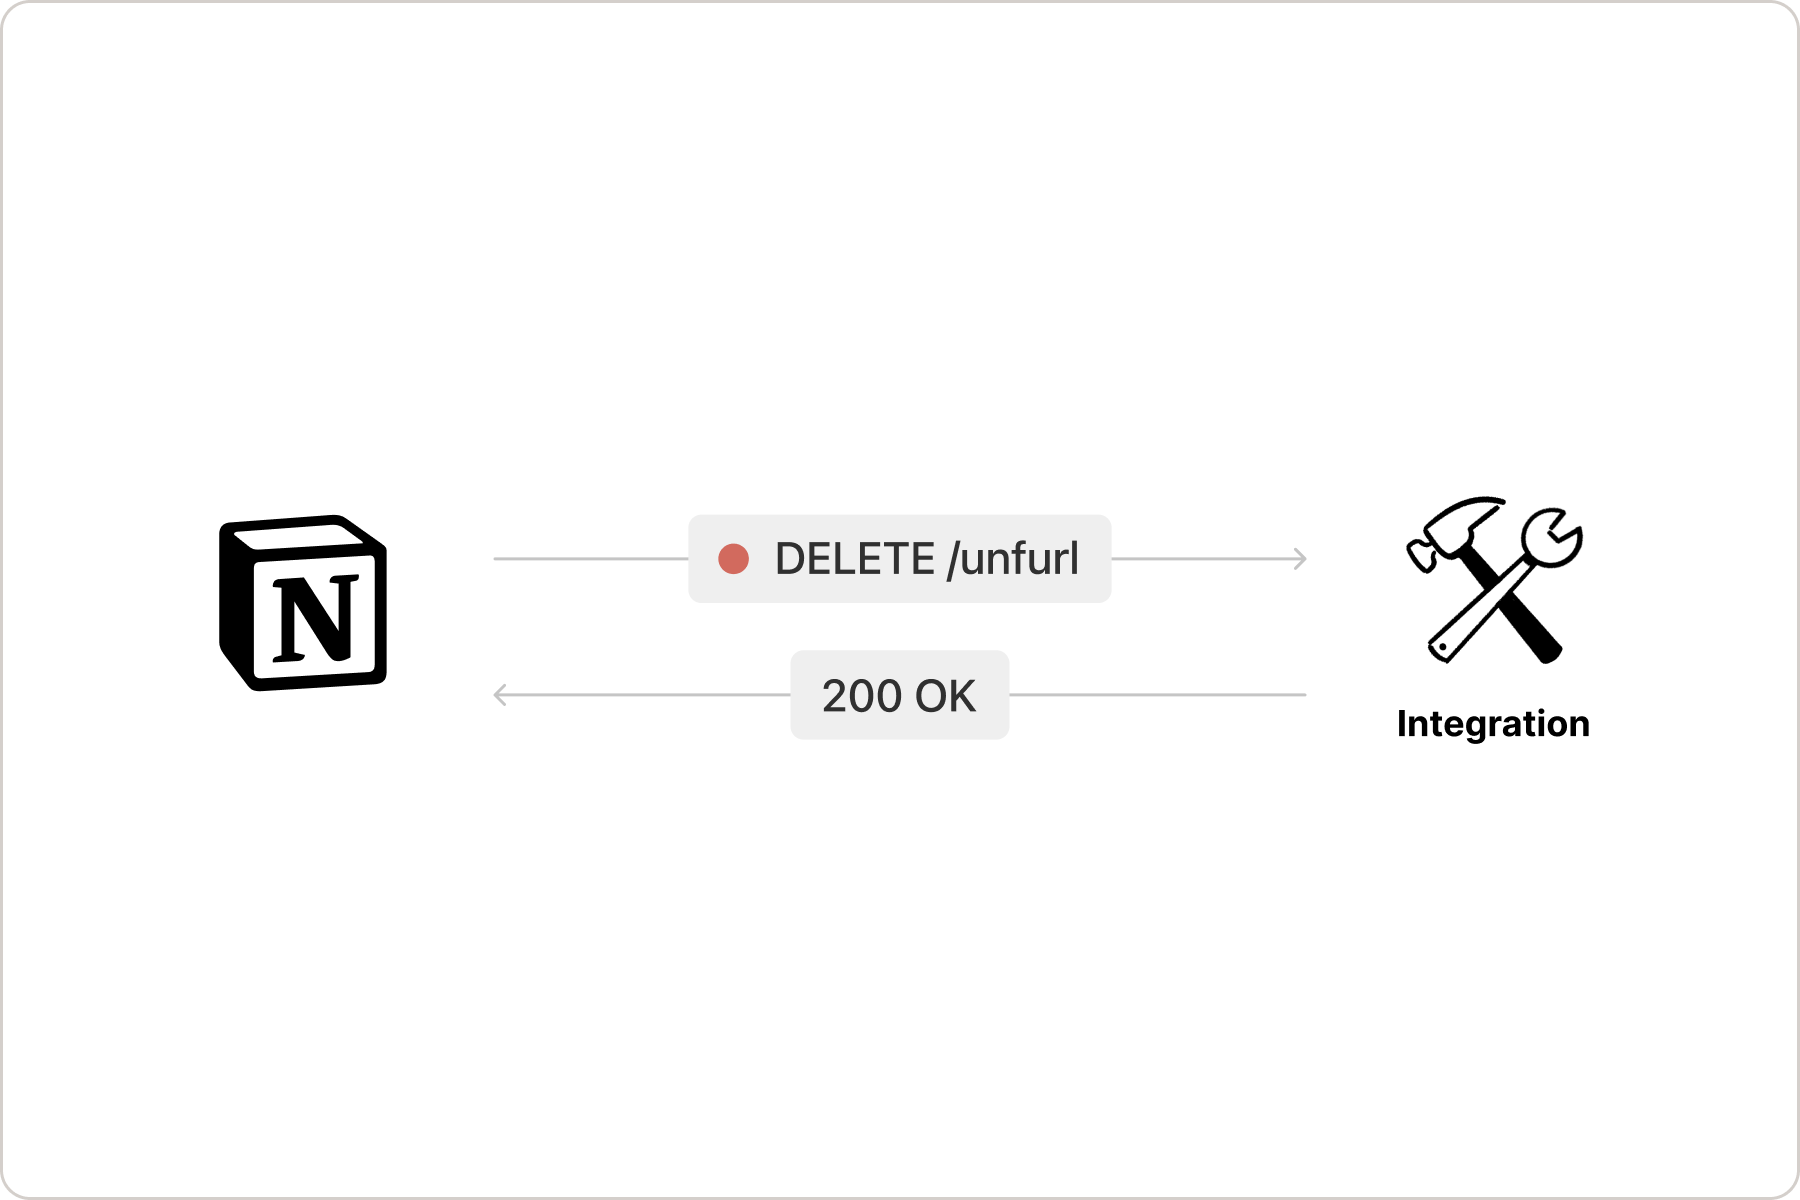
Submit your integration for security review
Before a Link Preview integration can be publicly distributed, it needs to pass a security review. Fill out this form to submit your integration for review. Next steps- To learn more about customizing a Link Preview’s unfurl attributes, refer to the reference docs